How to install and configure hyper for Windows 10
⚠️ This guide is more than two years old. Be aware that some things mentioned here may no longer work. ⚠️
Installing and configuring hyper (the terminal created by zeit, not to be confused with hyper-v) on windows 10 is so easy that even your grandmother could do it.
Background:
I spent some time trying to figure out some quirks when installing & using hyper. This lists contains the answers for most of the quirks I stumbled upon.
Start by clicking the huge “Download hyper for windows 10” here. When installing, a tiny little animation of a terminal in action is displayed, to distract you from looking at your watch.
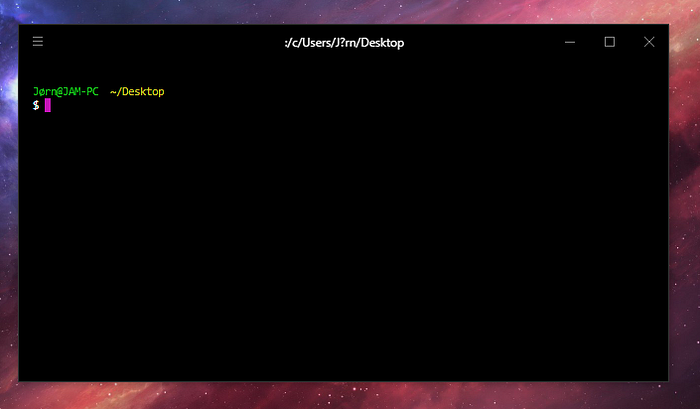
All right, you are done looking at the animation — hyper is installed! Now lets fire up the terminal to have a look..

Well, it’s something. We got a glorified Command Promt with some slick lines and some padding.
Assuming you actually want to use the terminal, lets switch to a bash-shell to get some linux commands available.
Configuring bash as default shell
Assuming you have git-bash installed, I’m guessing you want use it as your default shell. Well, thats easy! Have hyper selected, and press the ctrl-key while pressing the comma-key (ctrl + ,) — and you are inside the .hyper.js config. In here, you want to find this section:
// the shell to run when spawning a new session
// if left empty, your system's login shell will be used by default    shell: '',// for setting shell arguments
// by default `['--login']` will be used
shellArgs: ['--login'],
Let’s change that to
// the shell to run when spawning a new session
// if left empty, your system's login shell will be used by default    shell: 'C:\\Program Files (x86)\\Git\\bin\\bash.exe',// for setting shell arguments
// by default `['--login']` will be used
shellArgs: ['-i'],
⚠️ Make sure that you have the correct path to the git bash executable. It might also be located under “C:\Program Files\Git\git-bash.exe”
Restart hyper and voila — you got bash. (Assuming the path is correct, if not you probably got a bunch of errors)
Now, try hitting ctrl + c when hyper is selected.
Wait, what? The terminal just closed?
Yep, not the expected behaviour. (If you are not used to canceling tasks in the terminal by pressing ctrl + c then, no worries!) Thanks to this post, you have to target the usr version of the bash.exe file. Just make this change in the .hyper.js config:
// the shell to run when spawning a new session
// if left empty, your system's login shell will be used by default    shell: 'C:\\Program Files (x86)\\Git\\usr\\bin\\bash.exe',
But wait, there’s more!
Try typing the following commands in hyper:
> ls -la
> clear
What the actual f..? All of the output is scrambled when using clear!
This is also an issue when trying to use
vimin hyper on windows, or other programs/commands that requires to clear the output.
Well, there is one more thing you have to do. In the hyper settings, find the env property, and add the following:
// for environment variables
env: { TERM: 'cygwin' },
Why? No idea, but it works.
This also lets you use vim in hyper,
Lets install some plugins!
Well, this is definitly easy! Let’s pimp that terminal up!
First of, lets add a fancy border around the entire terminal to make it look like the icon (because, why not?). All you have to do is, open hyper and type
> hyper install hyperborder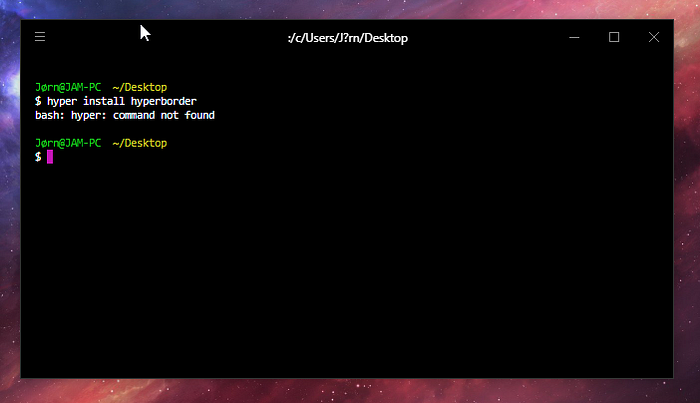
Well, shit. It seems like bash don’t have the correct $path. Let’s fix that!
First you need to create a .bashrc file in your user folder. The following command should do the trick:
> cd ~ && touch .bashrcNow, lets edit that file and put this in it:
Ensure that the path to the hyper bins is correct! They are somewhere in your AppData folder!
export PATH=$PATH:~/AppData/Local/hyper/app-2.0.0/resources/binThat’s it. Save it, and restart the terminal.
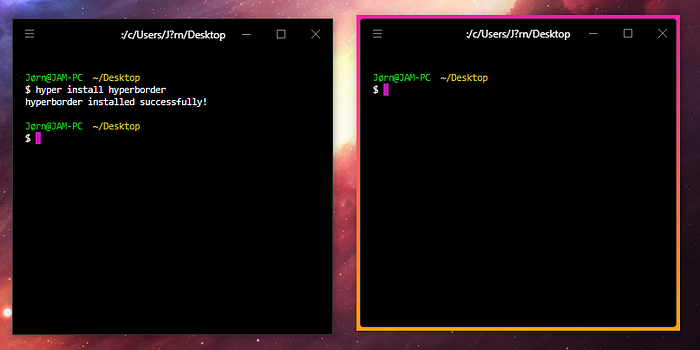
Let’s try installing hyperborder one more time.
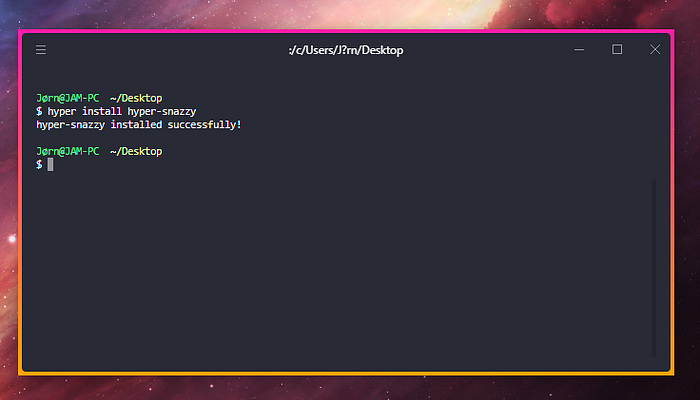
Let’s make it more beautiful by installing a theme:hyper-snazzy

Great! Now we got strong, vibrant colors in our terminal.. wait. It seems kind of faded? There seems to be an issue with the theme..
Well, let’s fix that — yet again, open up the settings and copy & paste this:
// custom CSS to embed in the main window
css: `
  .term_fit:not(.term_term) {
    opacity: 1 !important
  }
`,
That should be it — enjoy your new terminal!